
Installing Microsoft SQL Server 2014 in Azure with Azure Files – Step-by-Step
Know this beforehand: I’m not a Microsoft SQL Server professional, but sometimes I have to install and configure a SQL Server. In this case I needed to have a native Microsoft SQL Server 2014 in Azure (SQL as a service was not an option in this case ).
But how do you configure an SQL Server in regard to the disks? It´s best practice to have a single disk for each of the following:
- Data files
- Log files
- TempDB data file
- TempDB log file
In the data center world, I have now to deal with different RAID configurations or have to use an enterprise storage. In Azure I have three different approaches:
Use Azure standard disks attached to the virtual SQL Server
- Easy and cheap
- Limited to 500 IOPS on a standard VM size per Disk
Use Azure premium storage disks attached to the virtual SQL Server
- Extremely good performance
- Very expensive
Use Azure Files as a network share instead of disks
- Easy and cheap
- Up to 1000 IOPS per share
In my case I decided to use Azure Files.
Prepare the storage
Create a new storage account in Azure or use an existing one (please note: A storage account can handle up to 20000 IOPS. If you use an existing storage account, ensure that the account can handle an additional 4000 IOPS).
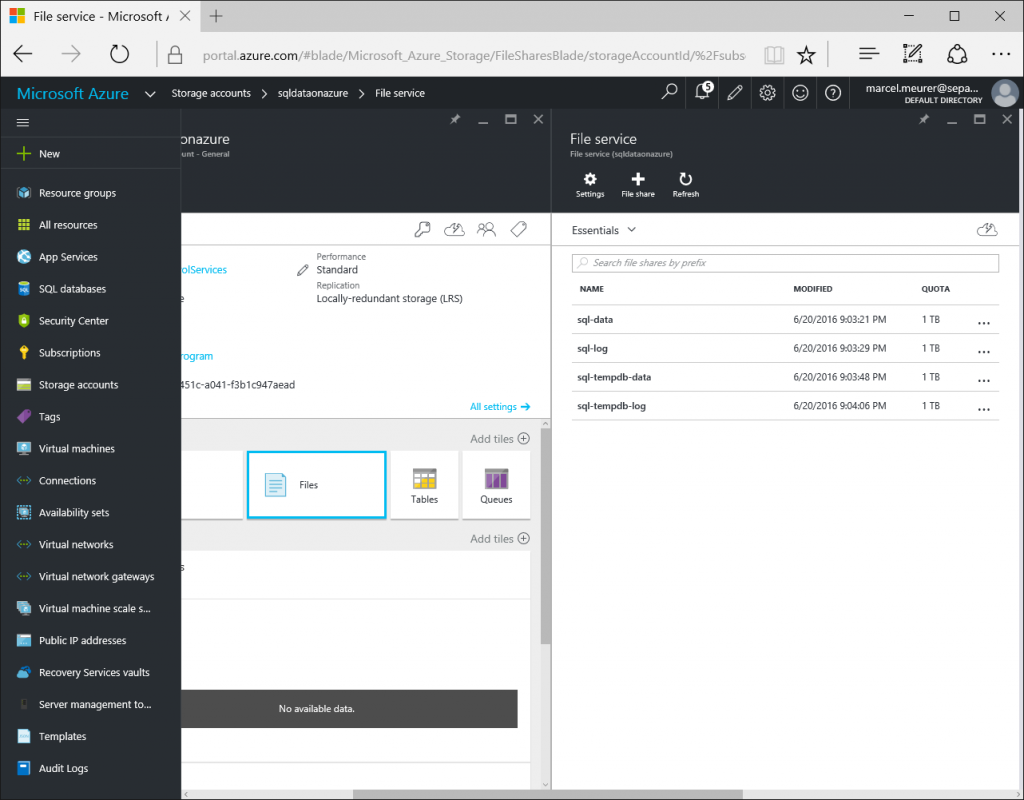
I create a new standard storage account named “sqldataonazure” in the same region as my SQL Server VM (use a least a D2v2 sized VM):

Then I create 4 Azure File Shares with a quota of up to 1024 GB named:
- sql-data
- sql-log
- sql-tempdb-data
- sql-tempdb-log
To map an Azure file share, click on (e.g.) “sql-data” -> connect and you will see a net use command:
net use [drive letter] \\sqldataonazure.file.core.windows.net\sql-data /u:sqldataonazure [storage account access key]
The storage account access key is retrievable at storage account level -> All settings -> Access keys ->key1 (or key2)
Please note the username (sqldataonazure) and the access key for the next step.
Prepare a domain service user
To enable seamless access of the Azure file shares by your SQL Server, the SQL Server process has to run with a service account known by Azure Files. Unfortunately, you cannot add users to Azure Files. But you can work around this restriction by creating a user in your domain with the name and password written down in the previews step.
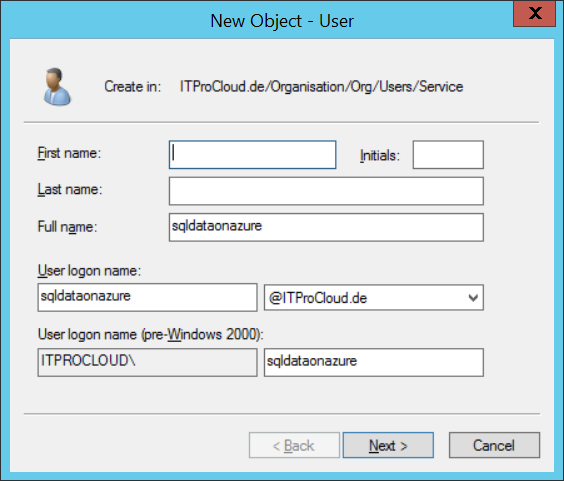
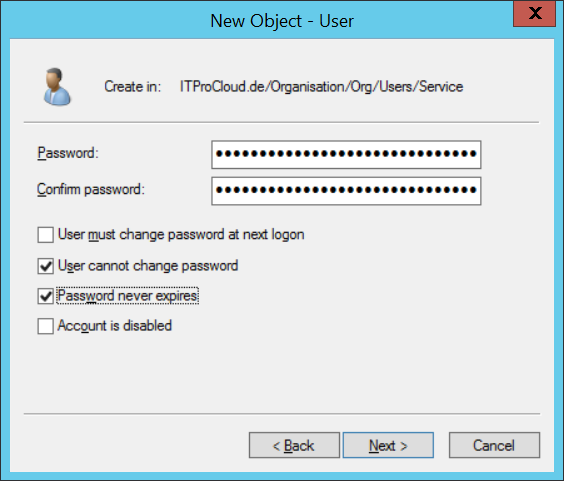
In my domain I create a user named “sqldataonazure” and the access key as password:
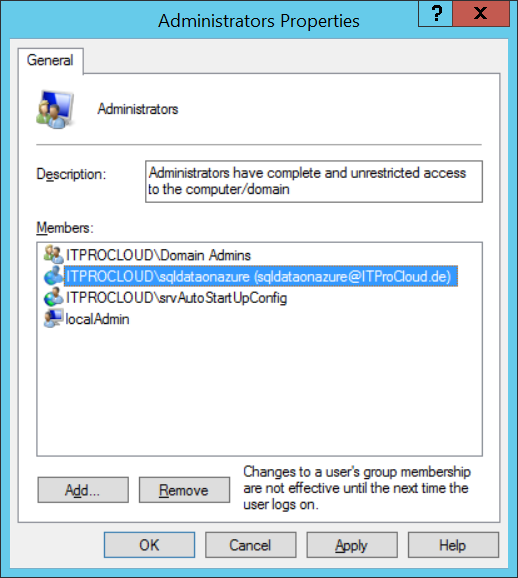
Afterwards, log on to the VM where you plan to install the SQL Server and add the newly created user to the local Administrators group:
Log off and Login with the new service user account “sqldataonazure”.
It’s now possible to open an Azure file share seamlessly : Run -> \\sqldataonazure.file.core.windows.net\sql-data
Install the SQL Server 2014
Make sure that you have installed Microsoft .Net Framework 3.5 SP1 before you start the installation (via Add Roles and Features).
While logged in as “sqldataonazure ”, open the ISO file for the SQL Server Installation from a local drive on your Azure VM and run setup.exe:
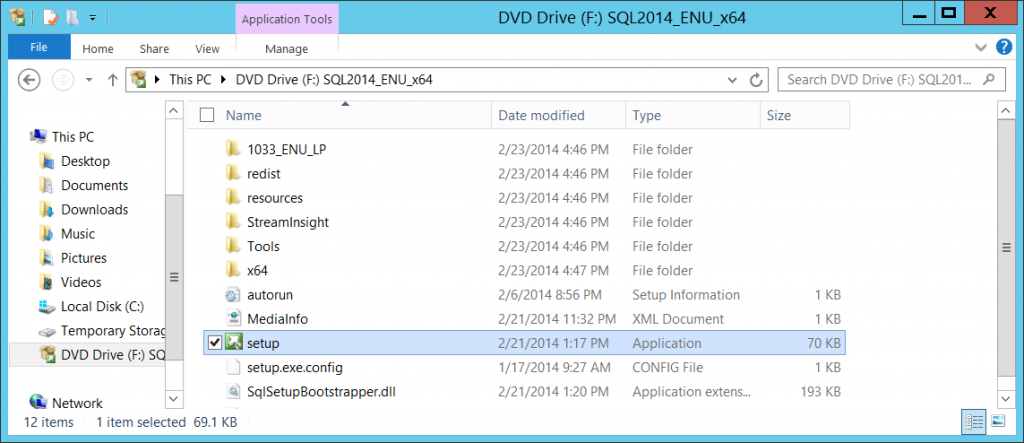
Go to „Installation“ -> „New SQL Server stand-alone…“ and follow the steps of the installation up to „Server Configuration“.
Configure the SQL Server Database Engine and the SQL Server Agent to run as the „sqldataonazure” account:

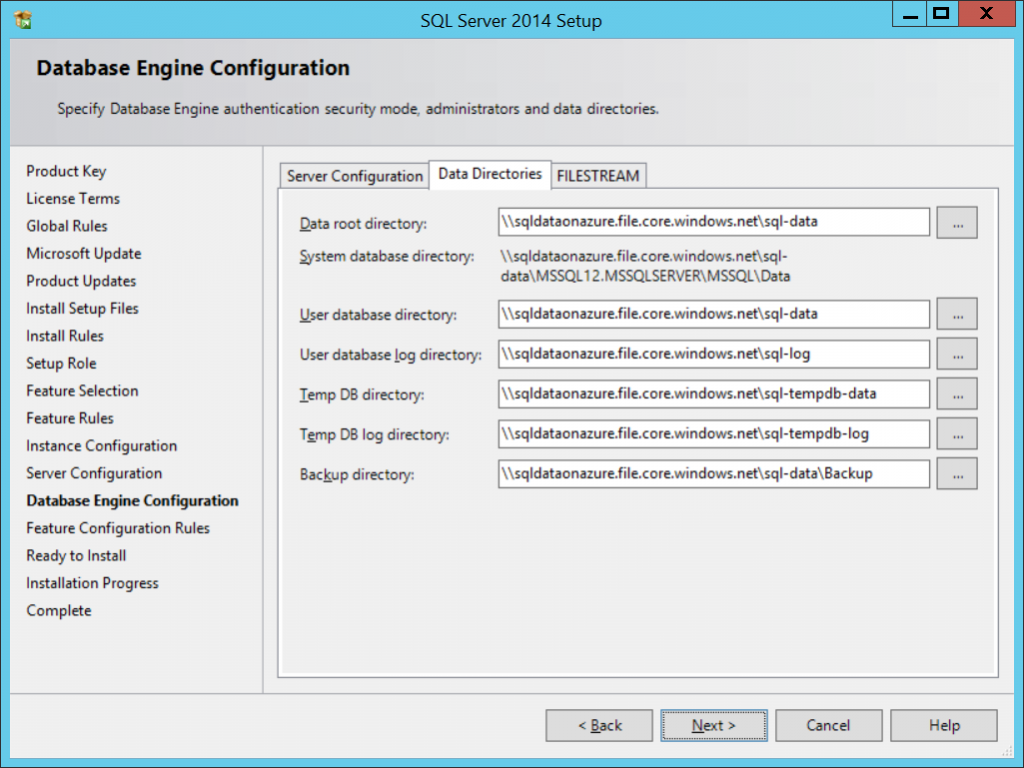
At Database Engine Configuration / Data Directories point to the Azure file shares:
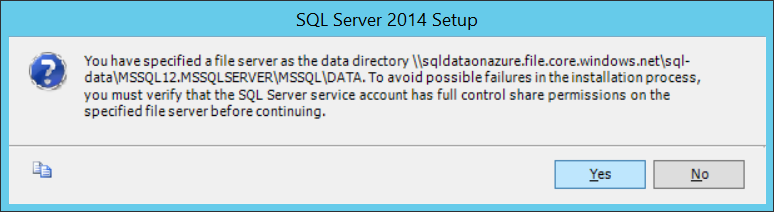
Click „Yes“:
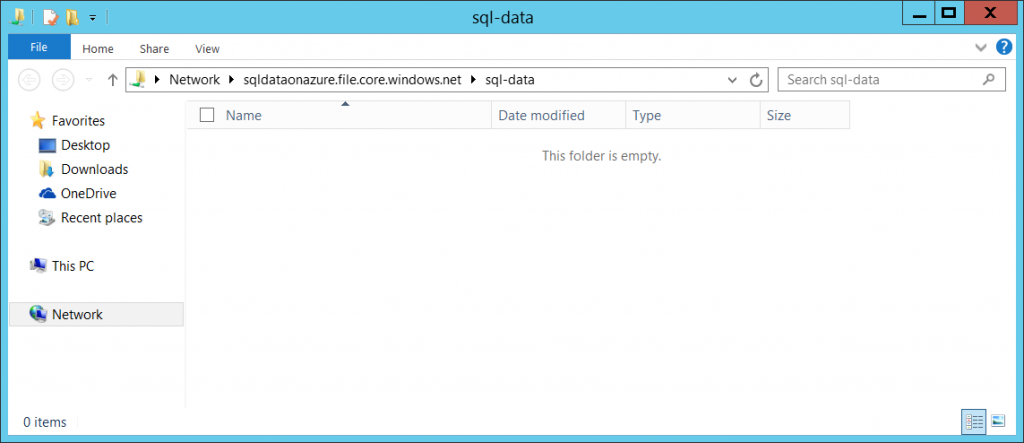
After the installation the share \\sqldataonazure.file.core.windows.net\sql-data shows the following files:

\\sqldataonazure.file.core.windows.net\sql-tempdb-data

Configure the SQL Server Service
After the installation modify the SQL Server Service (and maybe the agent) for delayed start. This prevents the SQL Server from starting before the subsystems mapping the network shares are online.

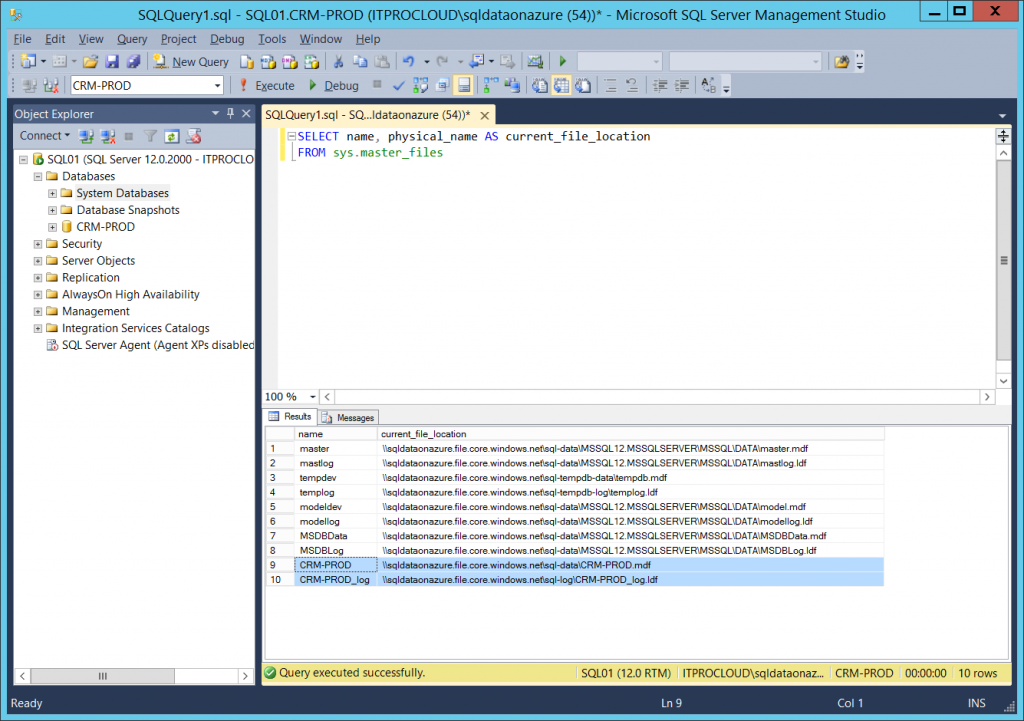
In SQL Server Management Studio, the location of the files (in this case including a CRM database) can be displayed:
Quick speed comparison
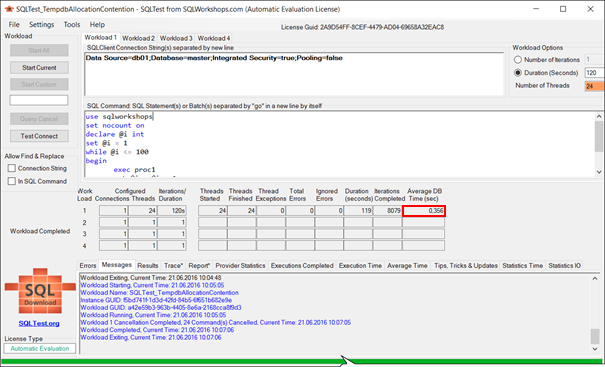
I’d like to make a quick speed comparison between two SQL Servers: A physical one and a VM in Azure. I used SQLTest from SQLWorkShops.com with a simple test workload. The result: The speed of both SQL Servers is extremely similar, almost even. Note that this is comparing an expensive machine with powerful hardware with a cheap VM! Quick tip: You might not want to use an A2 VM in place of a D2_V2, as the “Average DB Time” will be twice as much.
SQL Server in Azure on a D2_V2 sized VM (2 vCores, 7 GByte RAM) with Azure Files:

Physical SQL Server with: 4-Core Xeon CPU E5506 @ 2.13 GHz; 24 GByte RAM; 1xSAN Storage (1 GBit/s):
Have fun with a lot of IOPS 🙂